

Processing a Refund using the Deposit Screen
This guide will show you how to apply a refund and have this shown on your deposit slip at the end of each day.
By default, the current available options when using the “Deposit” function from the booking screen are as follows:
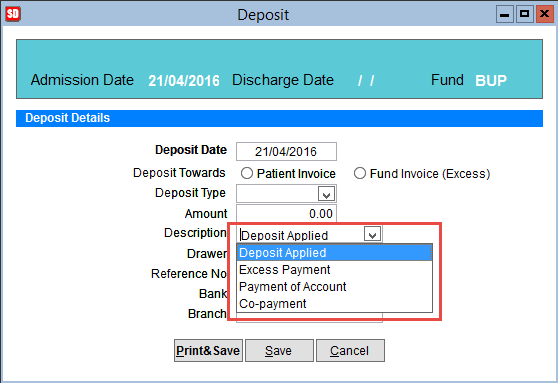
For practicality, you may want to create a new entry called “Refund,” and in order to achieve this you’ll have to first add a new entry within our Setup Menu. Please follow the steps below.
Click on Setup from the main menu and then Other Codes
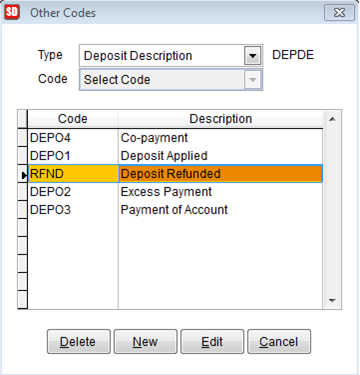
Click on NEW to add another category.
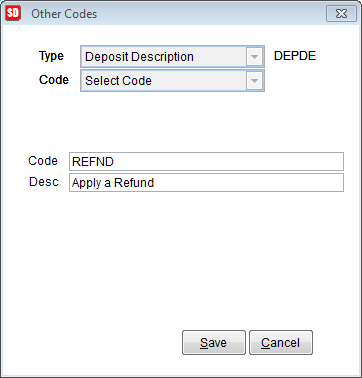
Please be advised that the field Code is limited to 5 characters, so it is best to abbreviate where possible. Next, ensure you have a suitable description. Click SAVE.
Now we are ready to apply a refund, so be sure to return to the Booking Screen.
On the booking screen, select the appropriate booking by either searching using the “Find Booking” button or navigating through the calendar function.

Now Select “Deposit”
Select “Add”
When entering the details, the image below highlights the necessary options for producing the correct refund. The main point is to ensure you select whether the deposit is towards a “Patient Invoice” or a “Fund Invoice (Excess)”.
The amount should always be a negative.
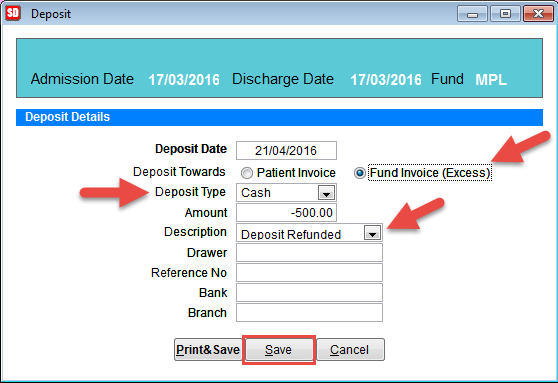
Click on SAVE to complete it.